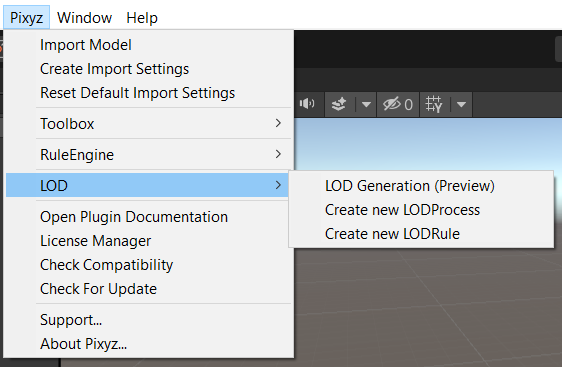
Using the LOD Tool
From Pixyz Plugin 2020.2 version, LODs of your assets can be created after import through our LOD Tool.
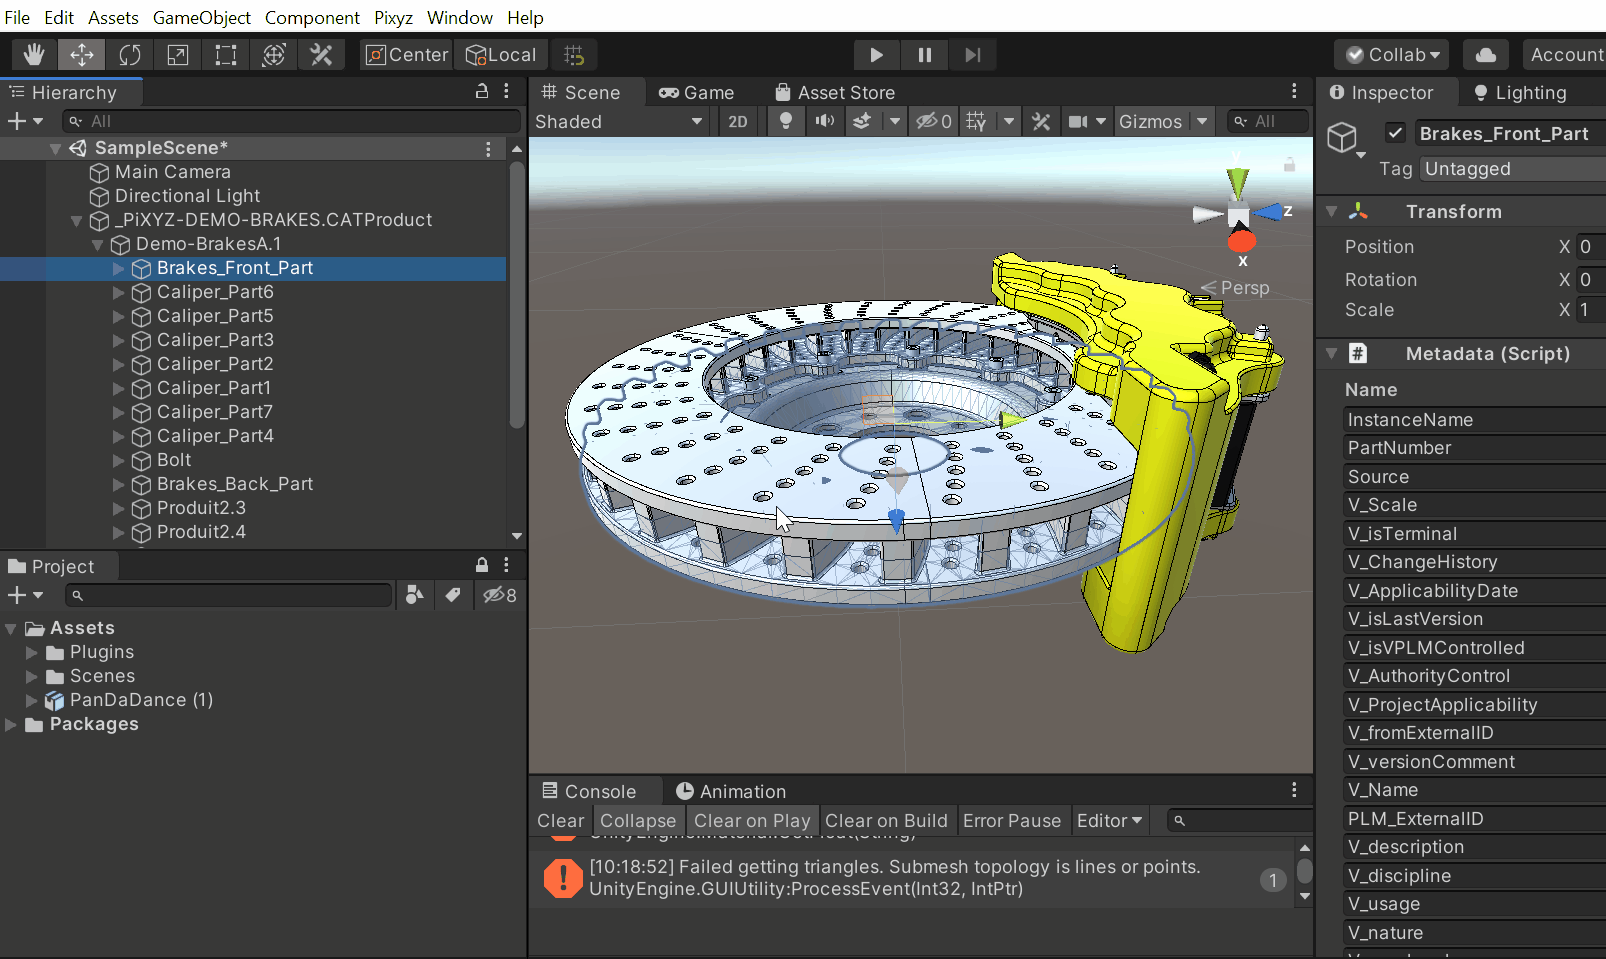
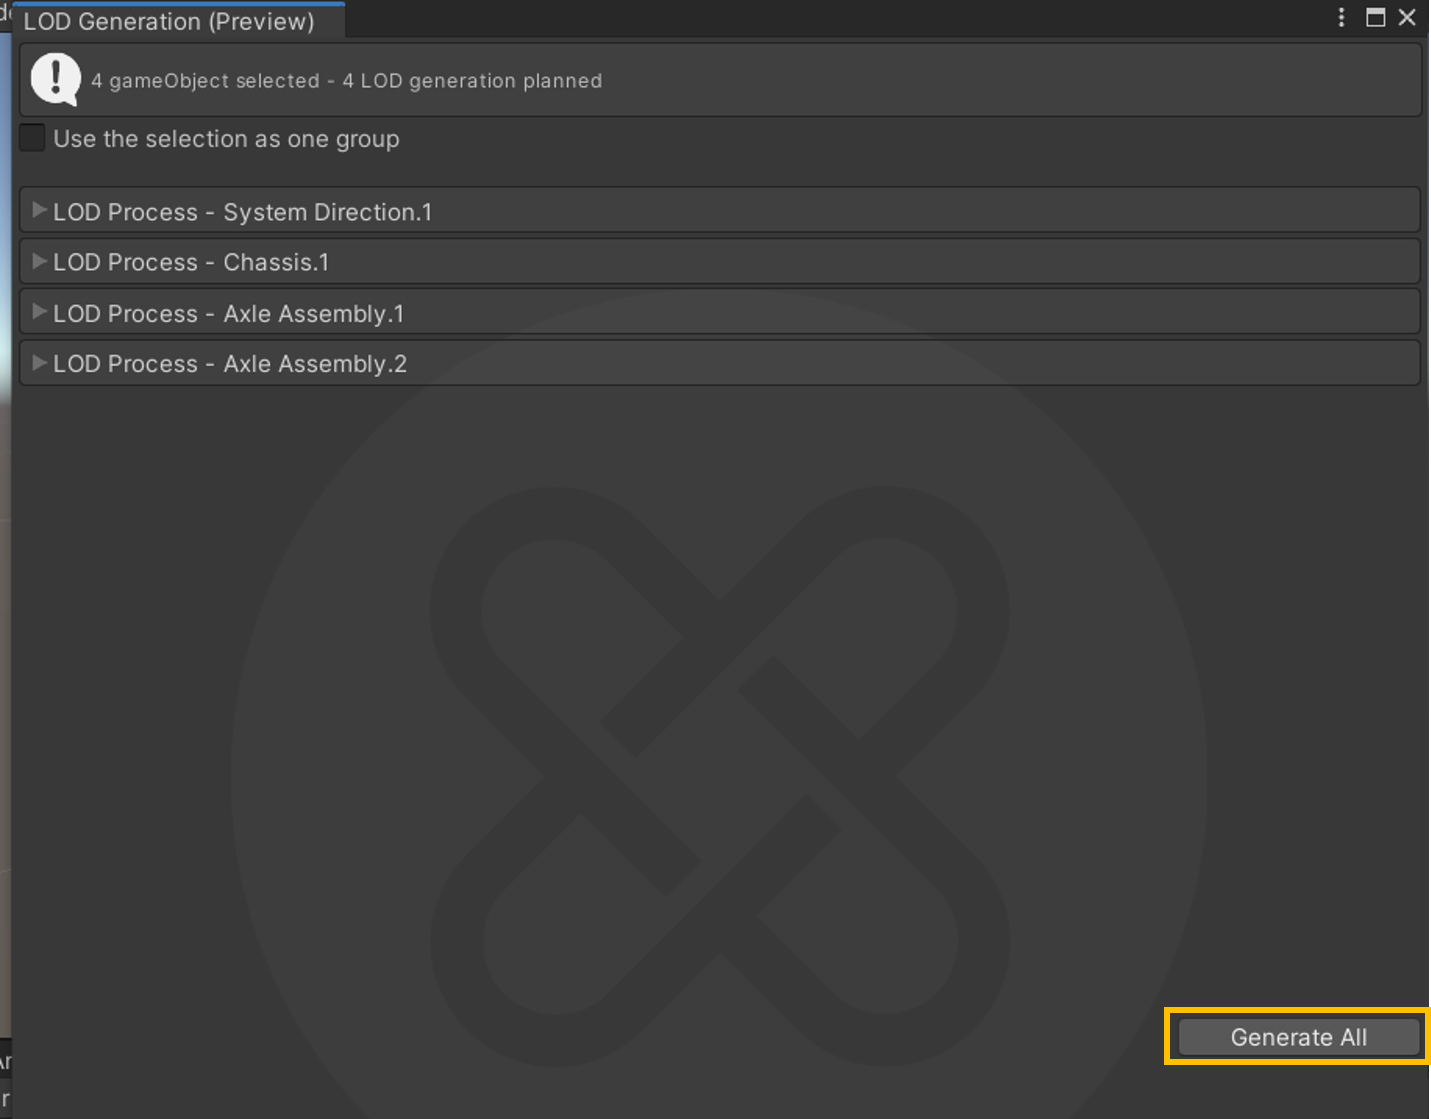
This LOD Tool allows you to run LODProcess on one or several GameObjects at once or simultaneously.For that, you need to check the box "Use the selection as one group"
LODProcess
The LODProcess is the main element used by the LODTool. Like the Rule Engine, LODProcess allow you to serialize your LOD workflows, using them in all your Unity project.
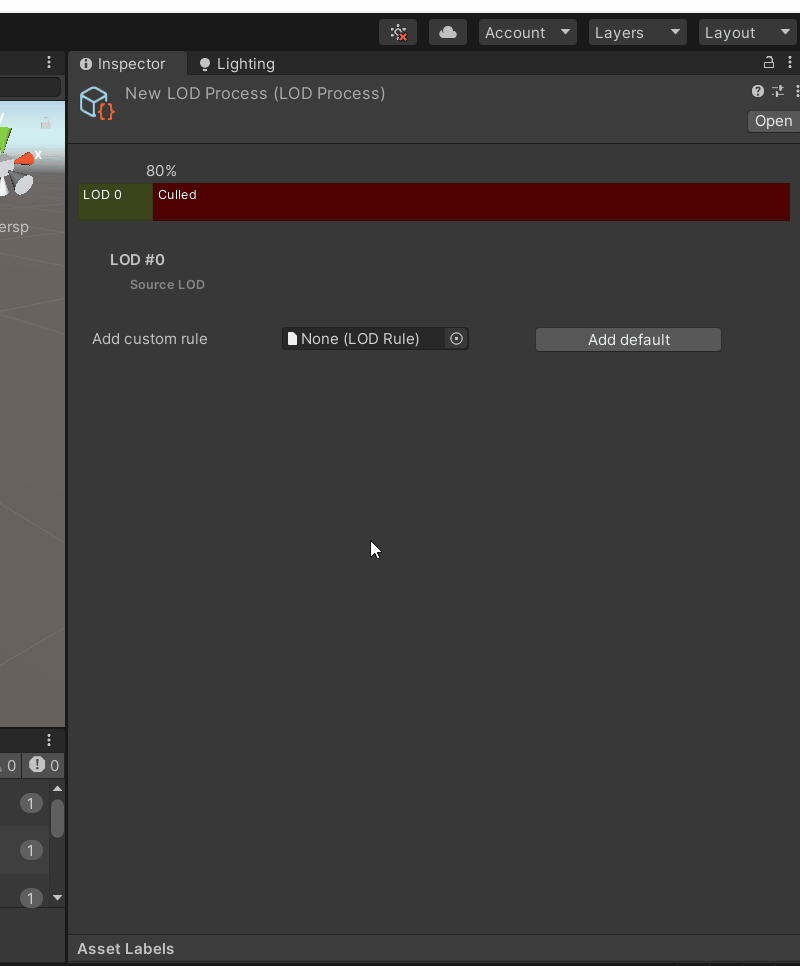
While expanding one selection in the LOD Tool, the LODProcess is shown as below.
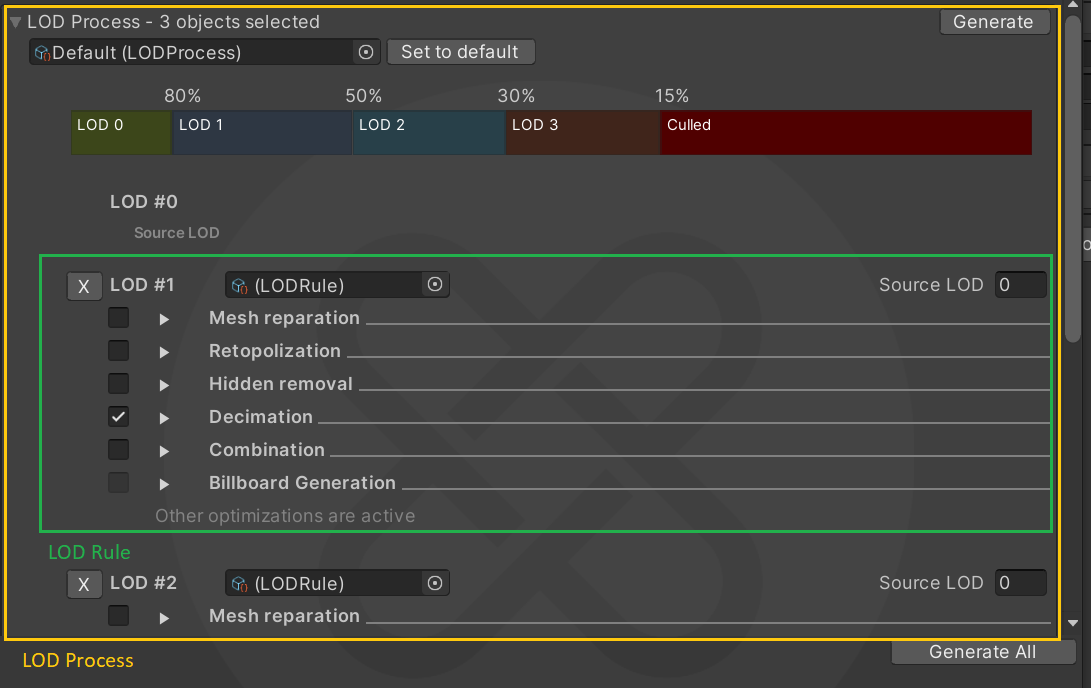
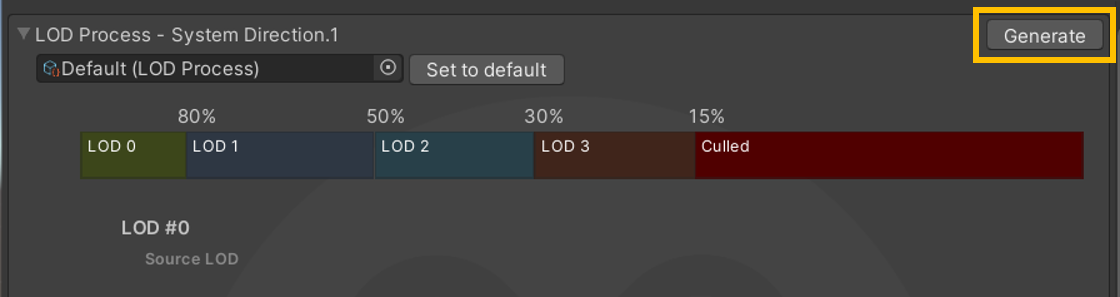
LODProcess is composed by several LODRule, and configured through an LOD banner that adjusts the visibility percentage for all your LOD level.

The percentage value represents the maximum visible proportion of a part/model when the camera is moving forward/backward before switching to the following LOD available, until disappearing (culling percentage).

Tailor your LOD distribution as your liking: Here, I want the LOD 1 to be displayed until it takes only 20% of the total visibility. Then it will be switched to LOD 2
When satisfied with your LODs distribution, you can Generate your LODs from the top right corner button or, if you have multiple selections, you can Generate All from the bottom right corner button.
Create custom LOD Process
The LODTool comes with a Default LOD Process, but you can create custom one. You can either add default LODRules or drag & drop the ones you previously created.
NOTE Pixyz will create automatically defaut LODRule (New LOD Rule 1, 2 and 3). The "New LOD Rule 4" will be empty.
LOD Rule
Each LODRule are define with several algorithms with their own parameters as you would go through the `Toolbox`:
- Repair Mesh
- Retopology
- Hidden Removal
- Decimate
- Combine
- Create Billboard
- Create Imposter
Then you can assign LODRules to your LODProcess

Example with Decimation