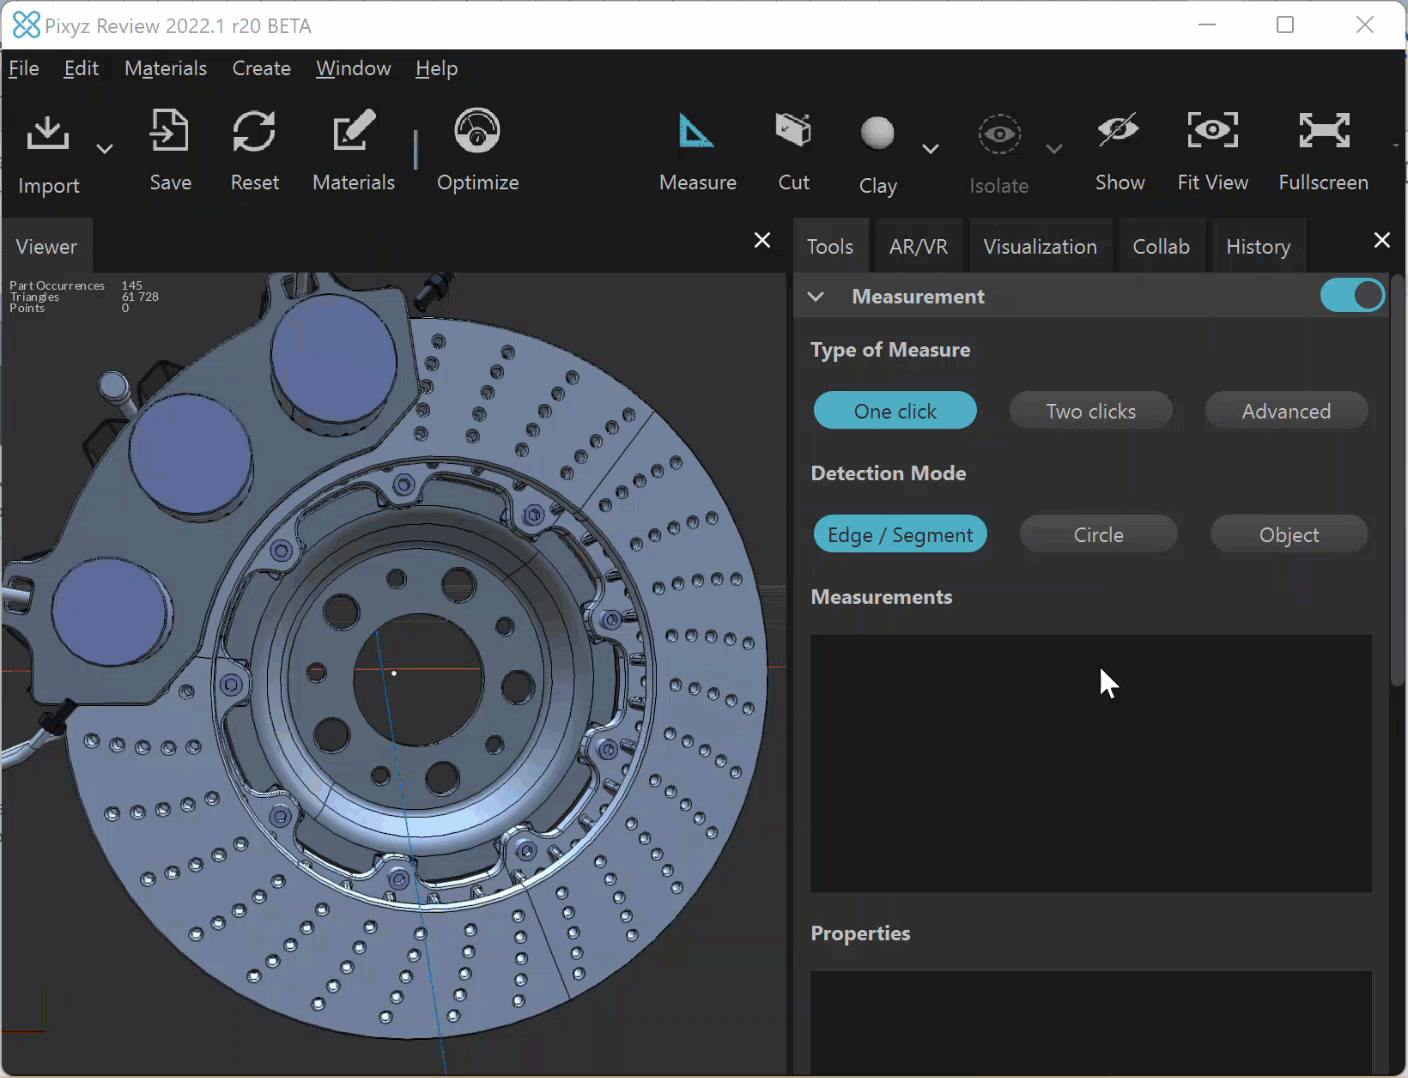
Take measurements using the Advanced mode
To take advanced measurements, create custom primitives. You can create primitives that can’t be identified from CAD geometries, based on existing primitives. These examples show typical uses:
- Create a straight line from a segment to measure angles
- Create the revolving axis of a circle to measure angles
- Combine several segments into one to measure their total length
To take advanced measurements from custom primitives, follow these steps:
- In the Measurement section of the Tools pane, select Advanced.
- Create primitives:
- Select a detection mode.
- In the viewer, select a geometry.
Note: When you hover over the model, the pointer changes color depending on whether you hover over a primitive of the selected type. - From the shortcut menu, choose Create […] primitive.
For example, for a point on a line, choose Create Point on line primitive. - Optionally, create primitives from existing primitives:
- On the Tools pane, select primitives from the primitives list, then right-click.
- From the shortcut menu, choose Construct primitive and select a detection mode.
- In the viewer, choose Create […] primitive from the shortcut menu.
- On the Tools pane, select the two primitives from which you want to take measurements and right-click.
- From the shortcut menu, choose Make measurement, and choose a measurement.
Tip: Before choosing a measurement, hover over the items in the list to highlight them in the viewer.
After you have taken measurements, the list of primitives is cleared in the Tools pane. - Optionally, reuse primitives from the measurement:
- Expand the measurement node on the Tools pane.
- Select primitives, right-click and, from the shortcut menu, select Reuse primitive(s).
Example: create a line from a segment
To create a straight line from a segment, follow these steps:
- Using the advanced mode, create two point primitives on the segment.
- On the Tools pane, select the points from the primitives list, then right-click.
- From the shortcut menu, choose Construct primitive > Axis/Line.
- In the viewer, from the shortcut menu, choose Create Axis/Line primitive.
Example: create the revolution axis of a circle
To create the revolving axis of a circle, follow these steps:
- Select the advanced mode and select Circle as the detection mode.
- In the viewer, select a circle.
- From the shortcut menu, choose Convert into > Axis, then choose Create Axis/Line primitive.
Example: combine segments into one
To combine several segments into one, follow these steps:
- Using the advanced mode, create a segment primitive from each geometry.
- On the Tools pane, select the segments from the primitives list, then right-click.
- From the shortcut menu, choose Construct primitive > Edge/Segment.
- In the viewer, choose Create Edge/Segment primitive from the shortcut menu.
Example: create an circle on which geometries are aligned
You might want to take measurements of a circle on which geometries are aligned. To create the circle, follow these steps:
- Select the advanced mode and select Circle as the detection mode.
- In the viewer, create a point at the center of each aligned geometry:
- Select the fastener circumference.
- From the shortcut menu, choose Convert into > Point, then choose Create Point primitive.
- Draw a circle from these points:
- On the Tools pane, select the points from the primitives list and right-click.
- From the shortcut menu, choose Construct primitive > Circle.
- In the viewer, choose Create Circle primitive from the shortcut menu.